|
|
Welcome to Creative Mama, where mamas can have fun connecting creatively with their kids and find meaning in mamahood. |
|
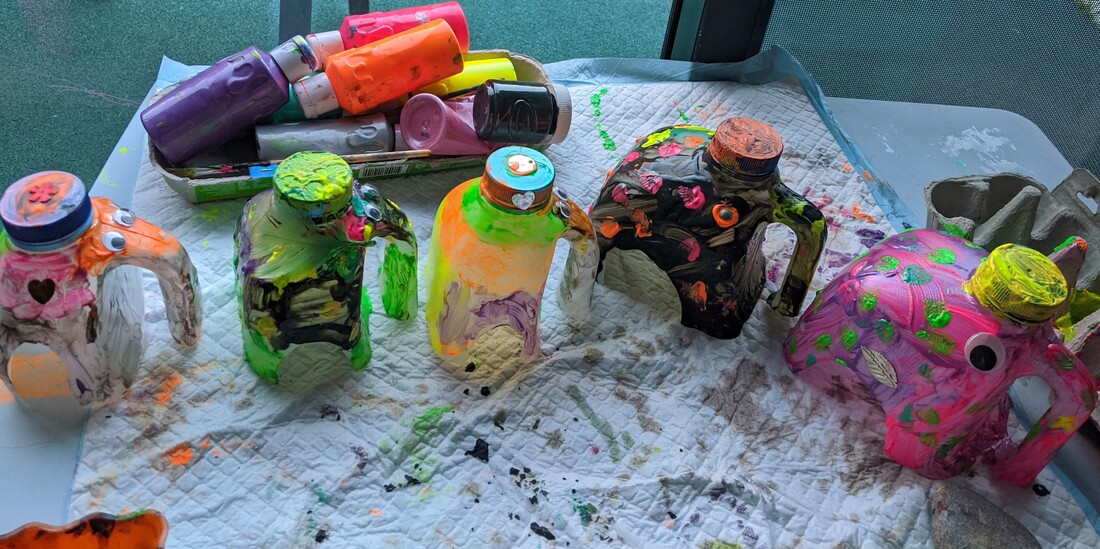
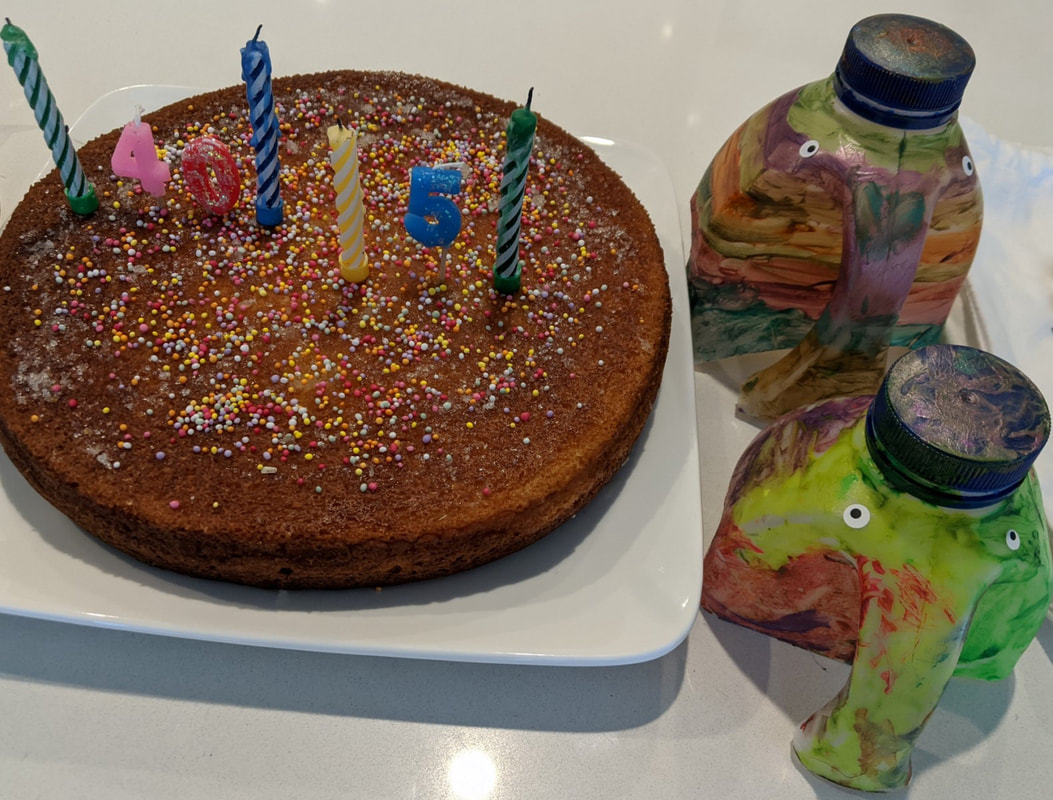
These easy to create colourful elephants (haathees) have been bringing hope to our loved ones, during these times of change. Whilst we continue to put up colourful rainbow artwork around our home to invoke gratitude and show support, we decided to upcycle old milk cartons and deliver funky haathees with positive vibes to family and friends who are recovering from surgery, live alone and celebrate their birthdays in lock down.🌱🙌 What we used:
Let's Create: Lay the milk bottle on it's side and cut the entire bottom half of the bottle off with a serrated (bread) knife, just below the handle, which forms the elephant’s trunk. Cut arches on all four sides to make the legs. Now the fun part! Decorate your haathees with different coloured paint and glue on sequins, stickers, gems with PVA glue. Glue on some (googly) eyes if you have them or paint them on, along with some ears and a tail! Connect and Inspire... Creating these rainbow haathees have helped the kids feel connected and purposeful, knowing they are uplifting their loved ones, during the pandemic. Needles to say, our family and friends have loved receiving their colourful inspirations of hope. These haathees have also been great for imagination play and story-telling. In addition, the kids have practised their fine motor skills and coordination, whilst they designed and experimented with colour. For more rainbow art ideas to bring colour to your kids days, especially during the gloomy grey winter weather, take a look at Painting with Marbles and Creating and Colouring Mandalas. This activity was inspired by The Imagination Tree's Milk Jug Elmer Elephant. The kids enjoy reading this much-loved patchwork haathee's books!
2 Comments
Also published on Mothers of Preschoolers (MOPS) blog, Lollipops in the Garden.
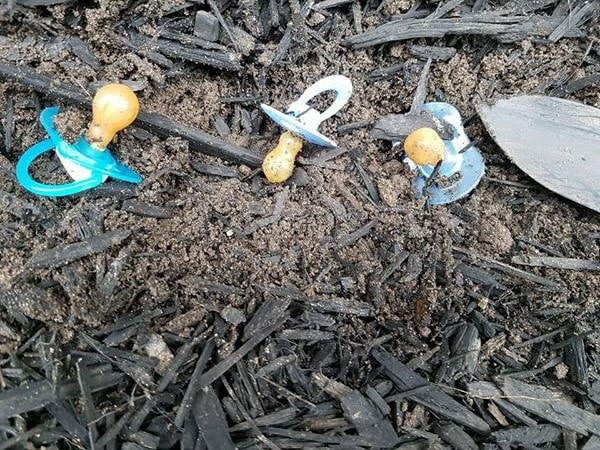
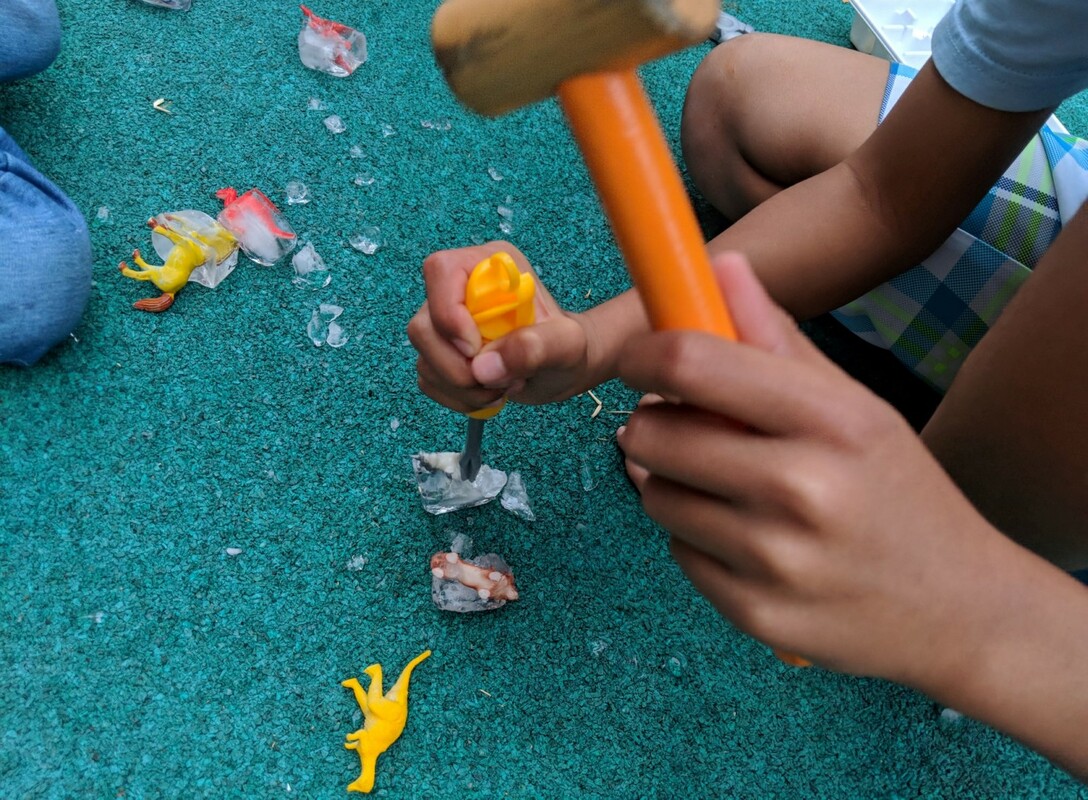
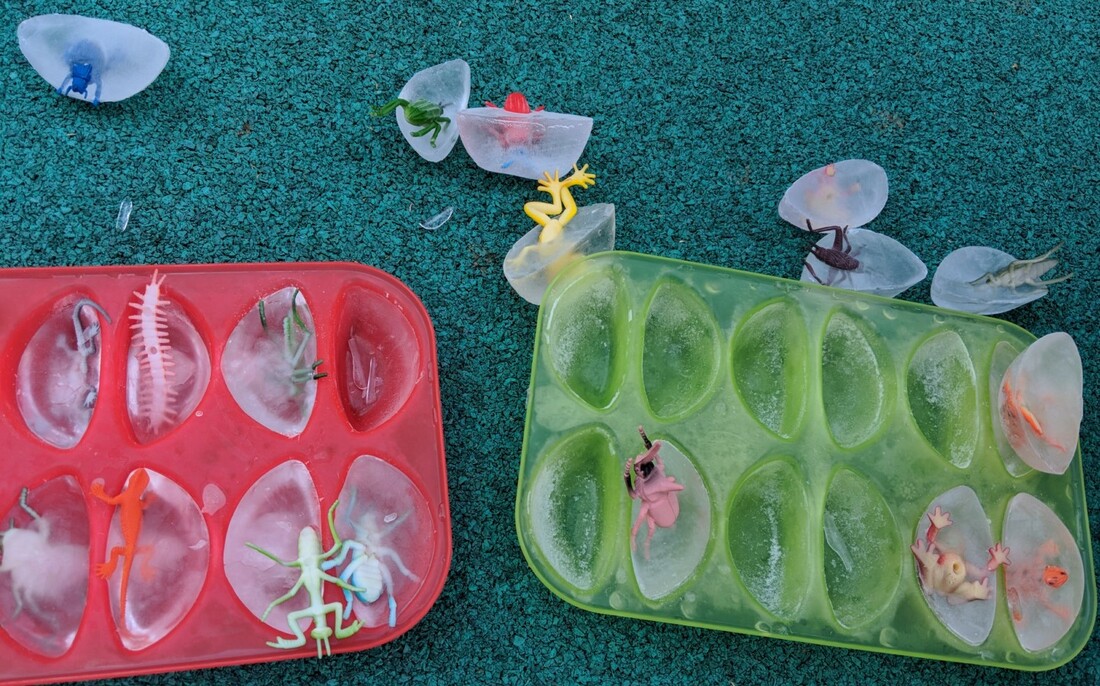
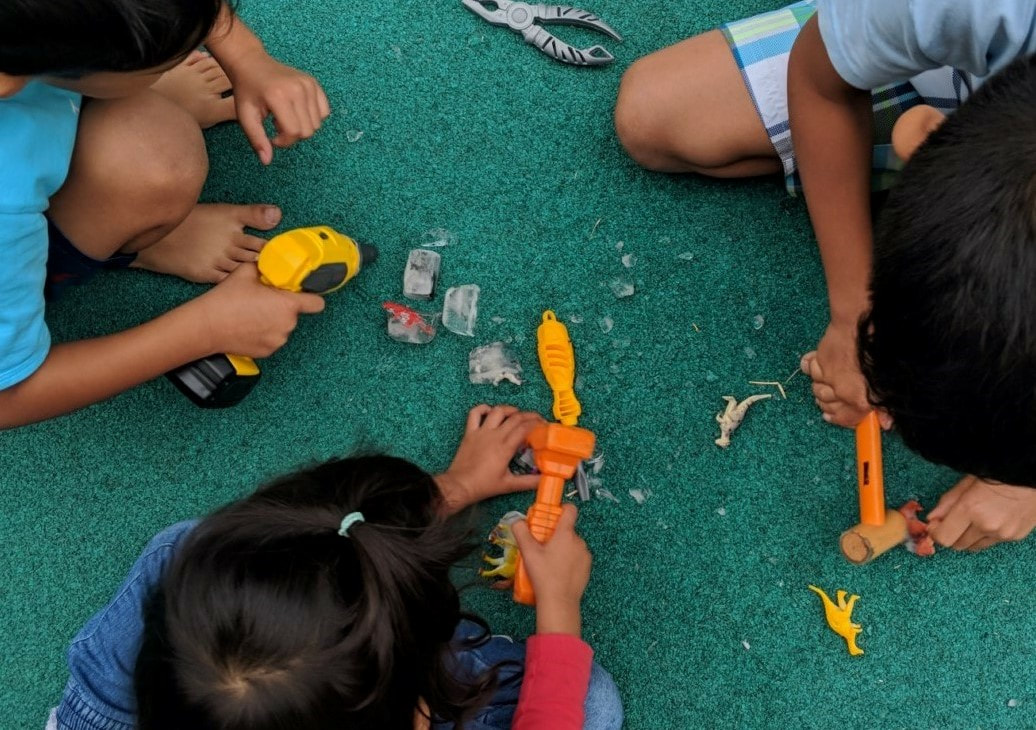
And the June/July edition of MamaMag (Page 46), Growing out of Dummies. "Mama, look! Lollipops are growing in the garden!" said excited Little Person with a big imagination. The look of awe on our toddler's face when he saw his favorite treat in bloom and in place of where his dummy had been planted, will always be a magical memory. There are many ways of getting rid of the dummy (or pacifier), including weaning it off slowly, calling upon the dummy "fairy" to take it, or simply saying "goodbye" to it. I learned of another creative approach to completely ditch the dummy; planting it! Since digging is one of our son’s favorite things to do, this approach was fun, imaginative, gentle and meaningful. As a parent, you are best placed to decide on the right time for your child to transition to a time without dummy. Experts suggest a good time to try is when there is not much change happening in the household; your child is feeling settled and has transitioned from using the dummy all day to only using it to soothe to sleep, and has an alternative favorite comforter or soft toy to soothe to sleep. Our son only used his dummy to soothe himself to sleep. When he was a little over 2 years old, we started to tell him how big he was growing and how he wouldn't need his dummy by the time he turned 3. So, it was a great parenting win to see him "grow" away from the dummy sooner with the help of "magic" and Mother Nature! On the morning of planting his dummy, I explained to our son that today he would be saying "goodbye" to his dummy by planting it in the garden. I told him that when he woke from his nap, something special would have grown in its place. Before nap time, I helped our son dig a hole in the garden, filled it with his dummy, and watered the dirt. When he settled down for his nap, I ensured he had his favorite comforter to snuggle with to sleep. When he called for his dummy, I reminded him that he had planted it and it would be growing into a surprise by now. While he was sleeping, I dug out the dummy from the dirt and replaced it with a lollipop. (TIP: you can replace the dummy with another edible treat or a special gift, such as a colorful windmill.) When he woke, I ran to the garden with him and marveled at the magic of nature. He saw his favorite treat in bloom in place of where his dummy had been planted! While he enjoyed his treat, we connected over how special it was for his much-loved dummy to transform into something he loved. At night time, I ensured he had his favorite comforter to snuggle with to sleep. When he asked for his dummy, I recounted his experience of it growing into something special. I reminded him that his treat was now snug in his tummy. And a magical moment was planted in his memory forever. Dinosaurs, digging and tools are a few of my boys' favourite things. So, when they discovered how to create mini ice excavations to free frozen dinosaurs, it was NEXT LEVEL! This STEAM (Science, Technology, Engineering, Art, Math) and sensory play has since become the kids' favourite activity not only because it's fun and easy to do but it also helps them to focus on something engaging, quickly. There is nothing quite like hammering away at blocks of ice to unwind and release energy – for both kids and parents! Now, we always keep an ice tray full of frozen creatures. Preferably, near the ice packs for injuries in our freezer. What is the method behind the madness? When the kids (or I) feel grumpy or get a bump, we quite literally break ice as an ‘ice-breaker’ and a distraction from the stinging pain of cold ice pack on owie! In fact, experts advise the art of distraction is often effective to help calm kids down, especially when they are hurting or need to let go of tension. Now, even the kids' play-dates request this fun, easy and engaging activity when they come over. A win-win for everyone :) Learn how we do it, below. WHAT WE USE:
LET'S CREATE! Invite the kids to place a creature figure in each open space of the ice tray. Then, help them to pour water into each space and put the ice tray in the freezer. When the water has frozen, remove the ice tray from the freezer and extract the ice blocks onto a large surface (preferably on the ground, outside). Then, let the kids excavate away at the ice blocks with their toy tools to free the fossilized bugs or dinosaurs! Another option is to use water sprays to slowly melt the ice blocks. My kids also like to find different things to freeze to keep it interesting, such as tiny trinkets and water beads. CONNECT & INSPIRE... Not only is this activity an effective distraction and releases energy, it also develops skills such as:
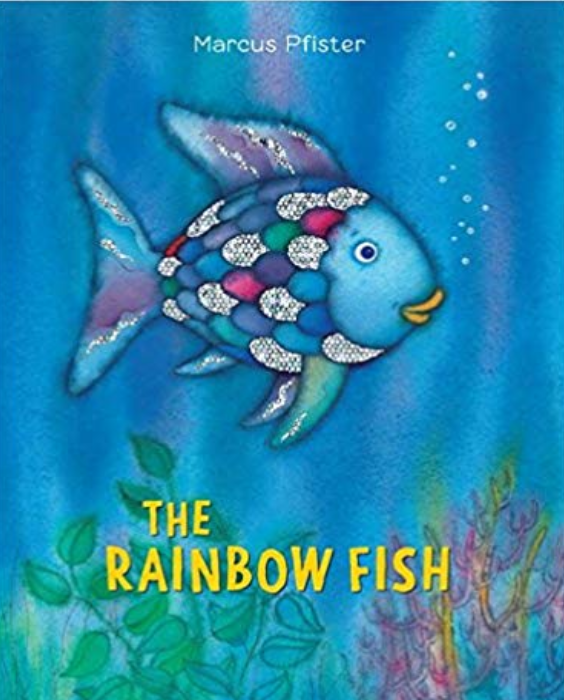
'Scientists have recently determined that it takes approximately 400 repetitions to create a new synapse in the brain - unless it is done with play, in which case, it takes between 10-20 repetitions' - Dr Karyn Purvis So, when this play-based activity to combine a beautiful story with playdough, hands-on learning and real-life experiences came along, we swam towards it! This Playdough Rainbow Fish is fun, easy to create and perfect for extending the kids' understanding of friendship. What we use:
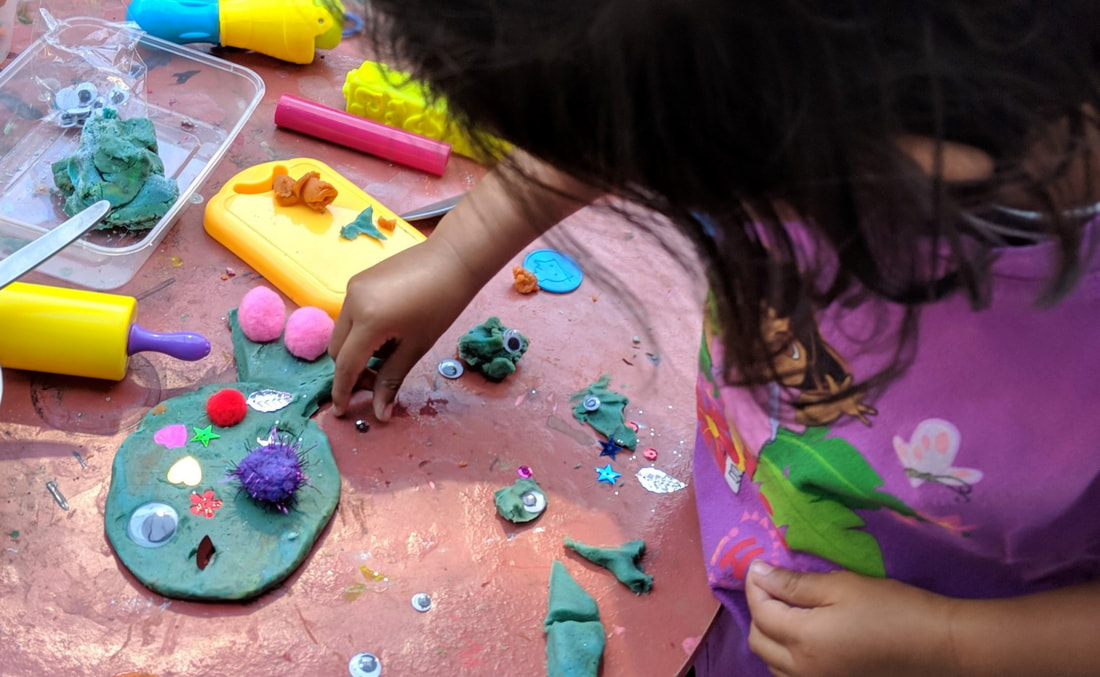
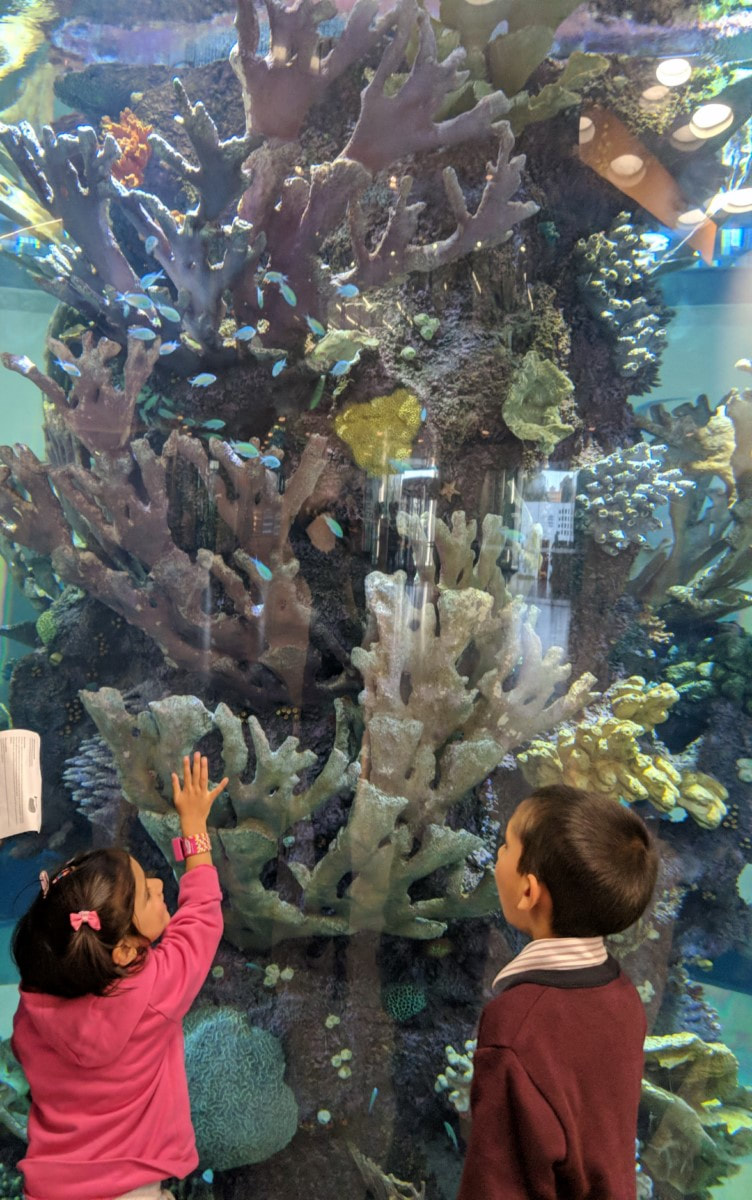
Let's create! After reading and reflecting on The Rainbow Fish story and it's beautiful illustrations, we get creative with the playdough! The kids flatten a ball of playdough using their hands or a rolling pin and cut out a fish shape with a plastic knife or a cookie cutter. All that's left is to place the googly eye on the fish and adorn it with sequins for scales, before it's time for some fun learning! Ideas include counting all the same coloured scales on the fish, standing the scales up on their side and then flat on the fish, creating a pattern of scales such as row of blue scales and then a row of red scales. Connect and inspire... The kids develop language and conversation skills as we discuss the underlying messages of how we can share, learn to give and be friendly in The Rainbow Fish. Taking the kids to experience an aquarium also reinforces their understanding of the many real and beautiful fish in the sea. Apart from using their imagination to create colourful patterns on their rainbow fish, the kids learn fine motor skills, hand-eye coordination and control. In addition, the kids learn math concepts such as counting and experimenting with size and area. Using creative methods to learn math extends problem-solving skills in exciting ways. To learn more about STEAM (Science, Technology, Engineering, Art and Math), please read Fun Marble Runs! What are some other creative ideas in response to The Rainbow Fish story? Creative Mama Joanna recently created a colourfully crafted fish book with her son and we shared it on the Creative Mama Community on Facebook! When kids engage in creative pursuits in life (such as art, craft, writing or dancing) they are better at self-expression and have higher emotional intelligence. This is because they have a safe and welcoming (creative) space to explore and understand their emotions. Read more about how Creativity can Empower your Kids here.
Dr Laura Markham, trained clinical psychologist and founder of Aha Parenting advises we teach our kids that:
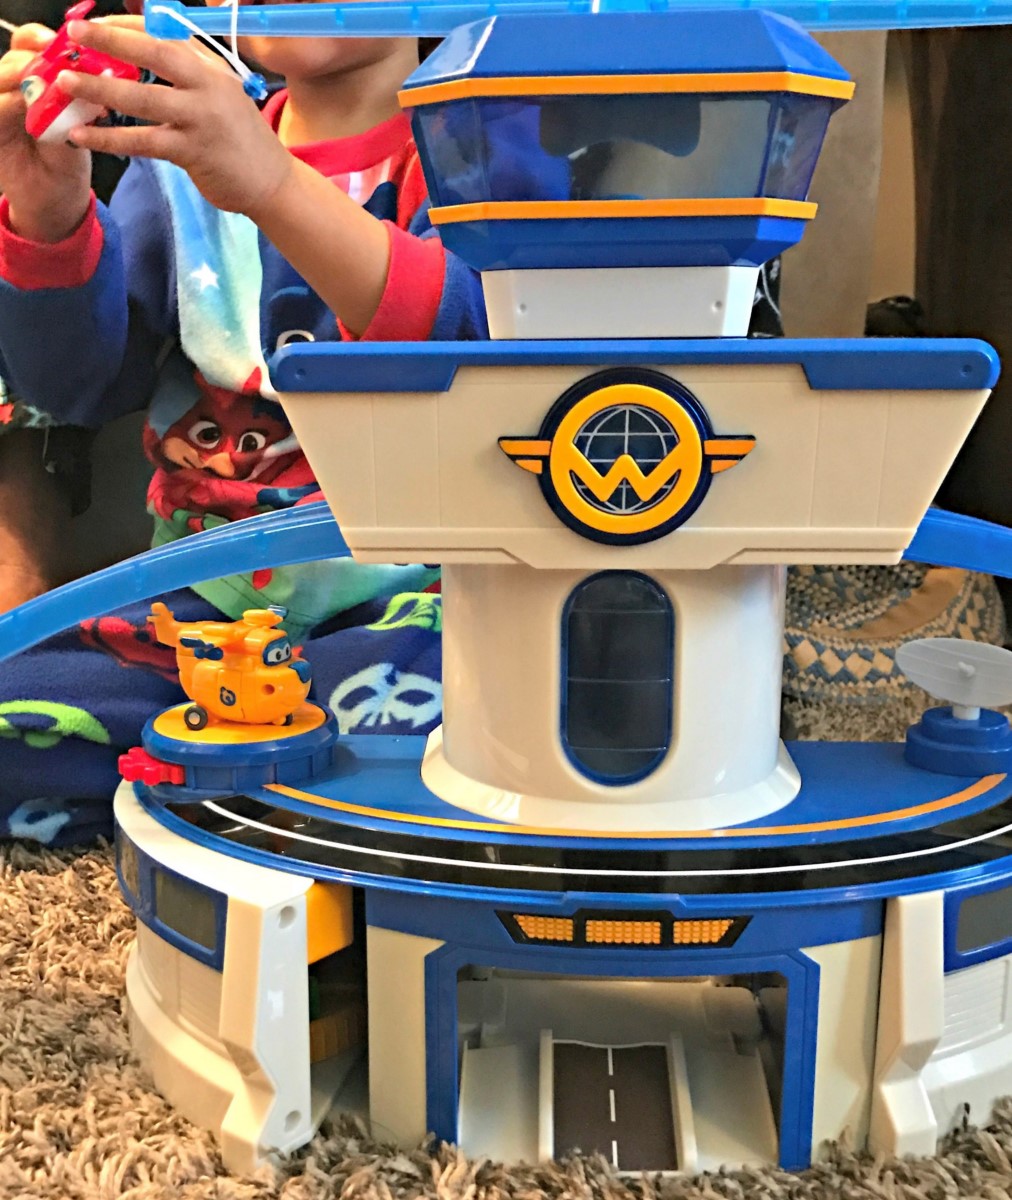
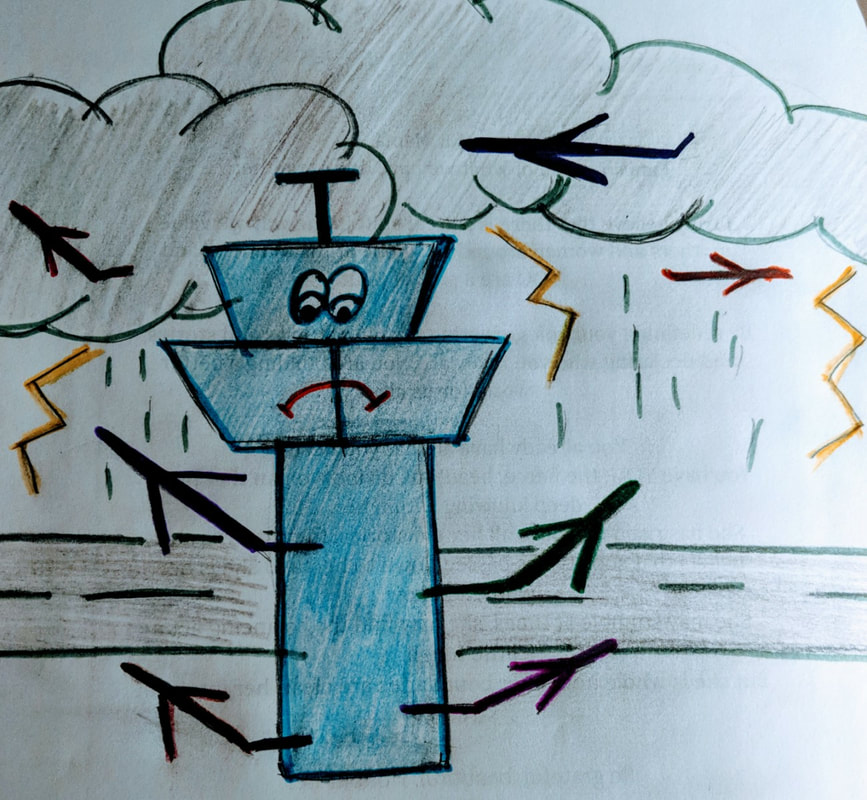
When my younger son has trouble expressing his emotions, he sometimes act out by yelling his frustration. This is because his brain has not developed fully to physically control his wild emotions. He doesn't even know his behaviour is inappropriate in a full-scale meltdown. Child development expert, Daniel J. Siegel suggests that “connection should be our first response in virtually any disciplinary situation.” WHAT I USE: It's not easy to drop whatever I am doing and become very present and empathetic to my son's needs but it is my most successful way in making him feel safe enough to express his tears and feel the fears that may be driving his anger. Holding him close, I acknowledge how he is feeling. He knows someone understands, which makes him feel just a bit better, so he's more likely to cooperate. He knows he doesn't have to yell or act out to be heard. Engaging in creative ways together with my kids is also an integral part of my connection with them. In order to help them cope with their emotions whilst limiting their actions, I connect with them via a visualisation technique I created. When my son is willing to listen, I compassionately invite him to visualise an Airport Control Tower trying to help land planes safely, during stormy weather at the airport. The Airport Control Tower is his brain's Emotional Control Tower and the planes are his hands, feet and mouth. LET'S CREATE! I help him understand that just as we can't control the stormy weather, we don't usually have a choice about what we are feeling. However, the Airport Control Tower can control the planes flying around it and similarly, our brain's Emotional Control Tower can control how we use our limbs and voice. Our brain can choose to land our limbs safely by our sides and control the volume of our voice, during the storm. In time, the stormy weather will pass and so will our stormy feelings. They always do. CONNECT & INSPIRE... This holistic visualisation usually engages my son's imagination because he loves aircrafts and begins to focus on what types of planes his limbs could be. This dissipates the desperation in his emotional outburst and helps him to feel in 'control' of his emotions, which he often expresses to me when he is ready. That is, until the next time a new challenge filled with new emotions he is unable to control comes his way! Before that happens, it's time for a big glass of water to boost my own oxygenation and patience power...knowing that one day he will be able to 'control' his emotions because he has a healthy, expressible emotional life (like my older son) makes it worth the effort and wait! Read Ice Excavation & The Art of Distraction for another technique your kids can use to let go of tension and release energy. How do you help your kids with their emotions? I would love to hear from you in the comments section! |
Categories
All
© 2019 Creative Mama
All photos, images and text are copyright protected. Not to be used without permission. |


 RSS Feed